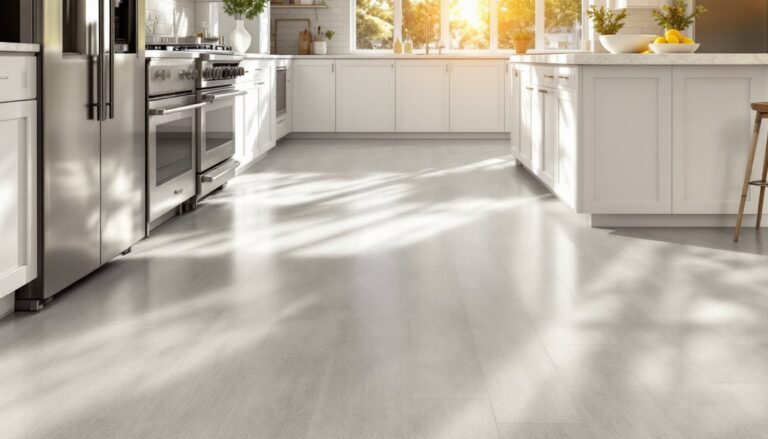
Laundry rooms are notoriously cramped, cluttered spaces where detergent bottles, fabric softeners, stain treatments, and cleaning supplies pile up haphazardly. But what if you could transform that utility corner into an organized hub that keeps everything you need within arm’s reach? Adding a pantry-style storage system to your laundry room isn’t just about aesthetics, it’s about making laundry day faster and less frustrating. Whether you’re working with a small closet or a dedicated room, smart shelving, cabinets, and organizing systems can turn laundry room chaos into a functional, efficient space. Here’s how to build a laundry room pantry that actually works.
Table of Contents
ToggleKey Takeaways
- Laundry room pantry ideas help keep cleaning supplies organized, accessible, and safely out of reach from children and pets.
- Vertical wall storage and floating shelves maximize limited floor space, with 12-16 inch spacing ideal for storing detergent bottles, dryer sheets, and specialty products.
- Group supplies by function and frequency—everyday items like detergent and fabric softener belong at eye level, while seasonal products can be stored higher or lower.
- Budget-friendly solutions like PVC pipe shelving, pegboard, tension rods, and thrifted furniture can transform your laundry room without a major investment.
- Clear labeling, transparent containers, and an inventory checklist ensure you never run out of supplies and make restocking effortless.
- A well-organized laundry room pantry reduces impulse purchases, frees up bathroom and kitchen storage, and signals thoughtful home maintenance to potential buyers.
Why Add a Pantry to Your Laundry Room
A dedicated laundry room pantry serves multiple purposes beyond just tidiness. It keeps hazardous chemicals organized and out of reach of kids and pets. It protects pricey specialty products, wool wash, delicate detergents, stain removers, from spilling or degrading. It also eliminates the trip across your house hunting for that one bottle of bleach or dryer sheets.
Secondly, consolidated storage frees up bathroom cabinets and kitchen under-sink space. You’re reclaiming real estate elsewhere in your home. And when laundry supplies are visible and accessible, you’re more likely to finish tasks instead of abandoning half-folded clothes because you couldn’t find the iron. From a resale perspective, a well-organized utility space signals that a home has been maintained thoughtfully.
Finally, a pantry system forces an inventory habit. You see what you actually use, which reduces impulse buys and bulk purchases that end up going to waste. Over time, this mindfulness pays dividends in both savings and efficiency.
Vertical Wall Storage and Shelving Systems
Walls are your best friend in a small laundry room. Floor space is precious, so maximizing vertical territory is essential. Installing shelves 12 to 16 inches apart gives you flexibility to store everything from tall detergent bottles to compact boxes of dryer sheets. Most laundry rooms have at least one blank wall, above the washing machine, beside the dryer, or opposite the entry door.
For a rental-friendly approach, freestanding metal shelving units (often called utility shelves or garage shelving) require no drilling and can be repositioned whenever you move. A basic four-shelf unit takes up minimal footprint and holds surprising weight, typically 300 to 500 pounds per shelf, depending on the model. If you own the home and want a more permanent, finished look, floating shelves or wall-mounted bracket systems deliver a cleaner aesthetic.
Installing Floating Shelves and Wall-Mounted Racks
Floating shelves look streamlined and make a small room feel less cramped. Before you drill, locate the studs in your wall using a stud finder, laundry rooms typically have drywall over wood framing, and anchoring into studs ensures shelves won’t sag or pull away. Mark your stud locations with a pencil.
For a standard 24-inch floating shelf, use a heavy-duty mounting bracket rated for at least 50 pounds per bracket: install two brackets 16 inches apart for most loads. Drill pilot holes slightly smaller than your lag bolts or screws, then tighten firmly, loose fasteners are the leading cause of shelf failure. Use 3/8-inch lag bolts or structural screws into studs for maximum hold.
Wall-mounted wire baskets or pull-out racks add flexibility without permanent installation. These slide onto existing shelves or bracket systems and let you pull out your supply tray like a drawer, eliminating the reach-and-fumble into the back corner. Label each basket or shelf clearly, one for laundry additives, one for stain treatments, one for folding supplies, so anyone in your household knows where to grab what they need.
Compact Cabinet and Drawer Solutions
If shelving alone leaves you overwhelmed by visual clutter, add closed cabinet storage to hide bottles and boxes. A compact cabinet (24 to 30 inches wide) tucked beside a washer or dryer provides concealed space without eating much floor area. Look for models with adjustable shelves so you can customize heights for different product sizes.
Drawer inserts and pull-out organizers are game-changers for small items, clothespins, safety pins, lint rollers, seam rippers. A single deep drawer with dividers keeps these notoriously scattered items consolidated. Over-the-door shoe organizers (yes, really) work brilliantly for laundry supplies: hang one on the inside of a cabinet door or the laundry room door itself, and you’ll gain 10 to 15 pockets for bottles, spray cans, and compact products without losing any floor or wall space.
If you’re building a custom cabinet setup, nominal 2×10 lumber (actual dimension 1.5 x 9.25 inches) makes sturdy shelves that won’t sag under the weight of gallon-size detergent bottles. For a more polished look, add a face frame from 1×2 boards and paint or stain to match your laundry room trim. This is basic carpentry, no special skills required, but does require a miter saw or circular saw for crosscuts, a level to ensure shelves are plumb, and a nail gun or screws to assemble. If tools or confidence are in short supply, buying a ready-made cabinet is worth the premium.
Organizing Supplies by Category and Frequency
Organization systems only work if they’re logical and sustainable. Group items by function: laundry detergents and boosters on one shelf, stain treatments and pre-soaks on another, dryer accessories (sheets, balls, lint traps) in a basket, and non-laundry cleaning supplies (all-purpose spray, microfiber cloths, broom handles) in a designated zone.
Frequency matters too. Items you use every wash, detergent and fabric softener, belong at eye level or slightly below, within easy grabbing distance. Seasonal or occasional-use products (wool wash, delicate detergent for special fabrics) can go higher or lower. Keep a small supply of everyday basics duplicated on a rolling cart or lower shelf for quick access: reserve upper shelves for backup stock.
Label everything clearly. Use a label maker or waterproof tape and a permanent marker for DIY labels. Transparent containers for powders and packets make it obvious when you’re running low. A simple inventory checklist posted on the inside of a cabinet door or on a small whiteboard ensures you restock before you run out. This sounds fussy, but it saves countless frustrating moments mid-load when you reach for something that isn’t there.
Budget-Friendly DIY Pantry Ideas
You don’t need to spend thousands on a laundry room overhaul. Start small and build over time. Thrift stores and secondhand marketplaces often have solid wood shelving units, vintage metal racks, and affordable cabinets. A coat of paint refreshes an old piece and lets it blend with your space.
PVC pipe and plywood are surprisingly versatile for DIY shelving on a shoestring budget. A frame built from 1/2-inch PVC pipe with 3/4-inch plywood shelves costs under $50 for a modest unit. Assemble the frame with PVC connectors (no welding needed), sand the plywood lightly, and paint. It won’t win design awards, but it’s functional and fully customizable. Resources like Real Simple offer clever organization hacks using unexpected containers, mason jars for cotton balls, repurposed bins for spray bottles, woven baskets for folded items.
Angled tension rods or springloaded rods work brilliantly for hanging spray bottles, rags, or delicate items in cages or bags. A tension rod costs $5 to $15, takes two minutes to install, and requires no tools. Pegboard is another ultra-affordable approach: 1/2-inch pegboard panels come in 4×8-foot sheets, cost under $30, and can be painted to match your décor. Add hooks, baskets, and shelves for customized storage that adapts as your needs shift. Sites like Homedit showcase inspiring storage designs that prove you don’t need a designer budget, just a bit of creativity and elbow grease.
Conclusion
A laundry room pantry transforms a utilitarian space into an organized, efficient hub. Whether you’re installing floating shelves, adding a compact cabinet, or repurposing thrifted furniture, the goal is the same: get supplies accessible, clearly labeled, and grouped logically. Start with one wall or corner, test your system for a few weeks, then expand or adjust based on what you learn. Small, thoughtful changes compound into a laundry routine that actually feels manageable instead of overwhelming.